
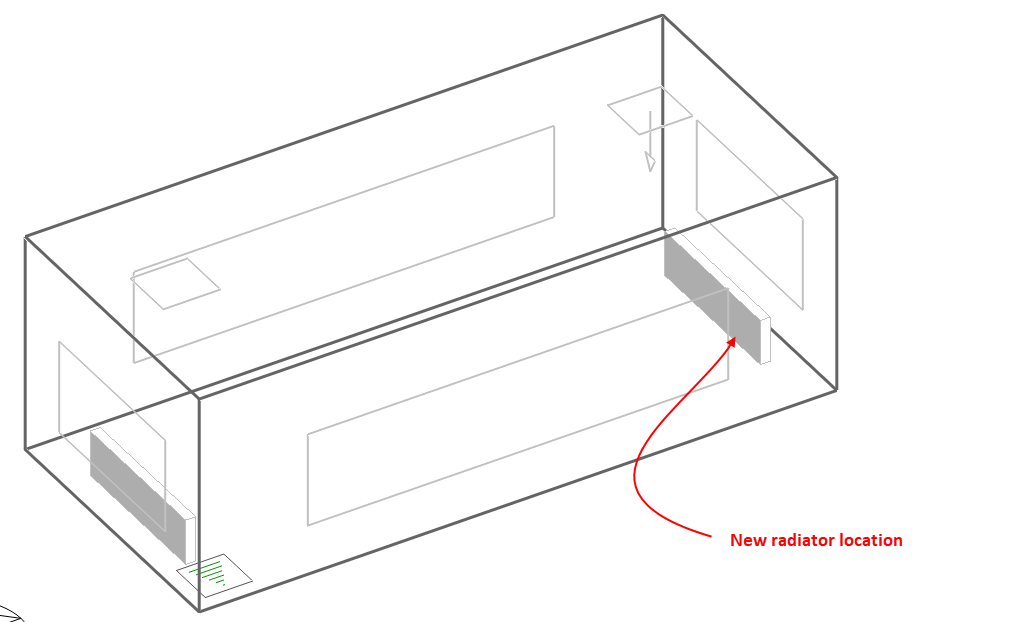
The CFD Analysis Manager dialog allows you to create new CFD projects, open existing projects or remove existing projects. For example, considering the internal analysis example illustrated in the Displaying Results section, you may want to conduct another analysis after moving the position of a radiator in order to look at the effect on air distribution. You would first go to the Edit screen and modify the radiator layout:
After returning to the CFD screen, you can then click on the CFD results manager tool to open the CFD Results Manager dialog:

The CFD Analysis Manger dialog incorporates a list of all available projects together with buttons that allow you to create a new project, open a project or delete a project. For each project entry in the list, the first column indicates the project name, the second column the model domain object used for the calculations (site, building, building block, zone) and the third column indicates whether or not the model geometry contained within the results is up-to-date. In this case, you would click on the New button to create a new project:

See the Setting Up a New Internal CFD Analysis section for details of creating a new internal analysis.
After creating the new analysis, you can then conduct the calculations:
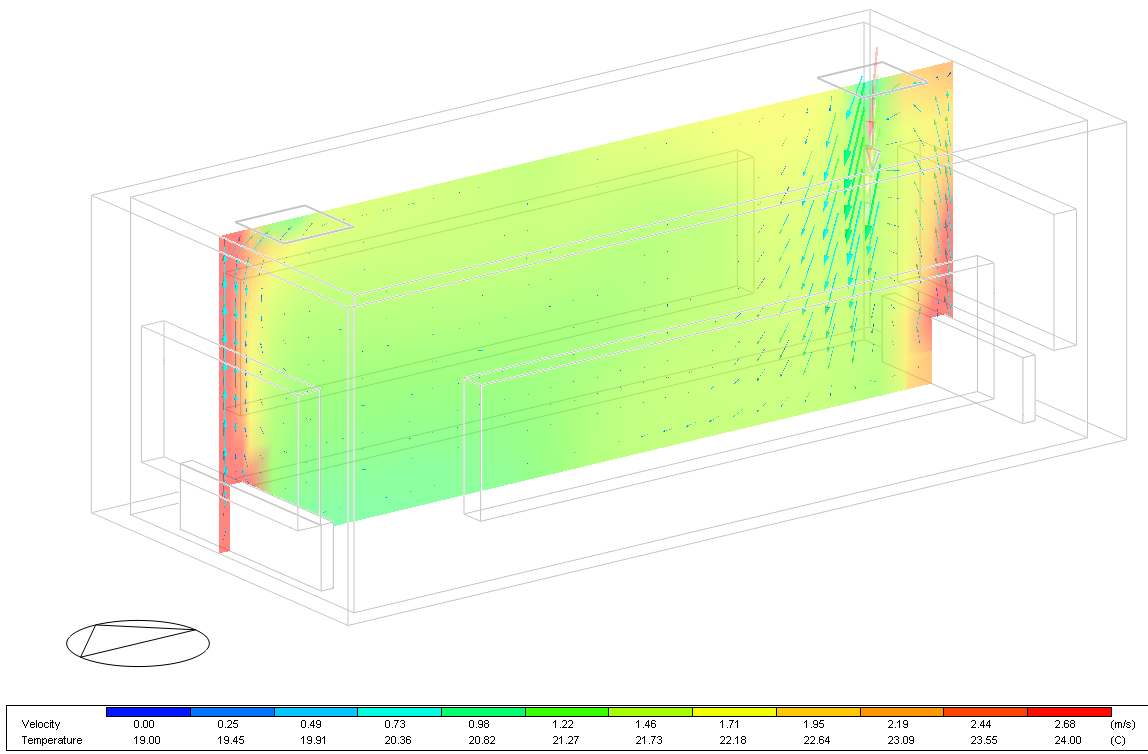
You can then use the CFD Analysis Manager to open the previous project in order to compare results:

You can export a CFD analysis using the Export button on this dialog. The exported file might be imported later to a different version of the same model, perhaps on different computer on in a different file. CFD analysis files have extension .cfd.
You can import a CFD analysis using the Import button on this dialog. The file for import will typically have previously been exported from a different version of the same model, perhaps on different computer on in a different file. CFD analysis files have extension .cfd.